

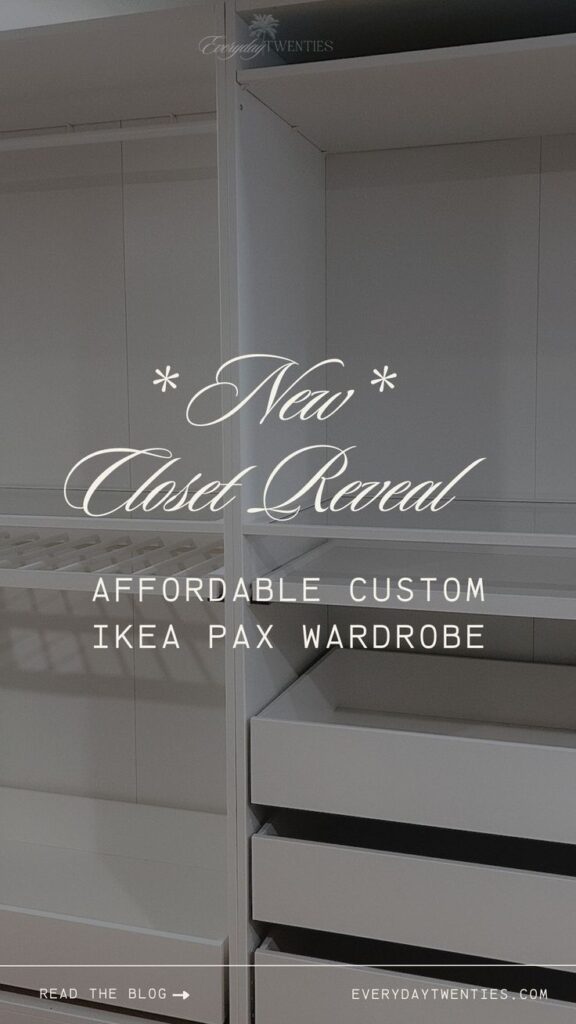
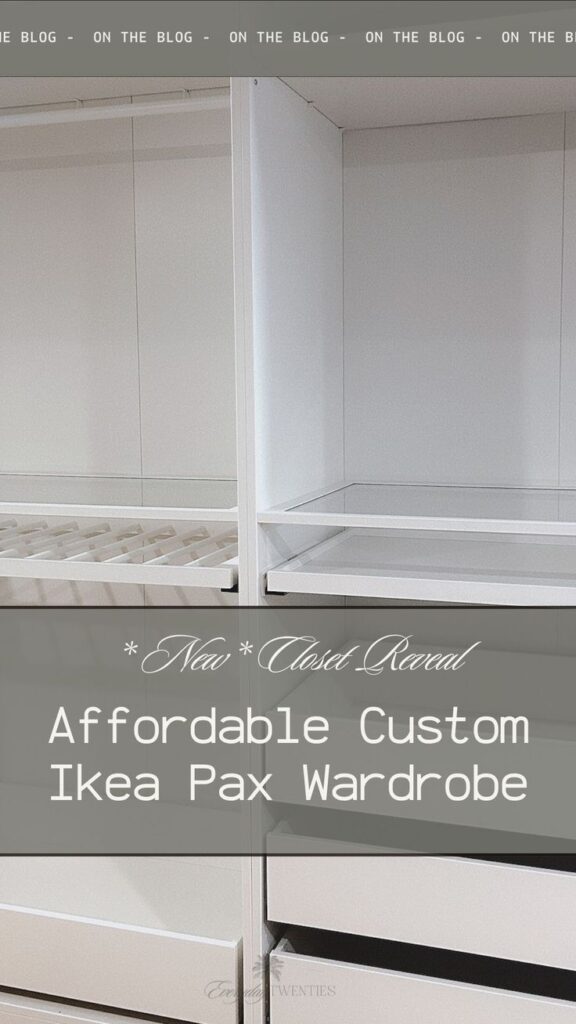
Looking for a fresh closet design? ✨This is your ultimate guide to the best Ikea PAX wardrobe tips to help create your dream walk-in closet!
Discover how this affordable IKEA PAX wardrobe design will easily Elevate your wardrobe space!
I am in LOVE with how my walk-in closet wardrobe has turned out using this affordable Ikea PAX system! I was so ready to replace my ancient/ broken dresser with this budget-friendly custom closet. Now I finally have a well-designed closet system that keeps my closet tidy and looks STUNNING!
The Design Blueprint for Your IKEA PAX Closet
I began by using the Ikea Pax Planner to create a mock-up of the custom closet I envisioned with the IKEA PAX wardrobes.
Being a visual person, this planner was a game-changer in bringing my ideas to life! It allowed me to experiment with different drawers and organizers to match my closet needs perfectly.
I debated which color to choose—white, beige, or gray—but ultimately chose white. It was more budget-friendly, and I plan to paint it in the future once I find the perfect color!

Why the IKEA PAX wardrobe?
Built-in wardrobes are a dream solution for any home, but they can get pricey. To save some cash, why not buy the wardrobe frames and create that custom, built-in look on your own? It’s a super easy IKEA DIY—something we all love!
Why choose PAX frames for your built-in wardrobe?
+ Affordability – Pax frames are a budget-friendly alternative to having a custom wardrobe built by a professional.
+ Easy installation – Setting up Pax frames is quick and straightforward, sparing you from complex and time-consuming assembly tasks.
+ Versatility – Pax frames provide a variety of storage options, including shelves, shoe racks, clothes hangers, and drawers—everything you need to customize your wardrobe to fit your lifestyle.
How to Build Your Custom IKEA PAX Wardrobe
1. Put together the wardrobes and furnishings you’ve selected, following ALL the guidelines and IKEA’s assembly instructions.
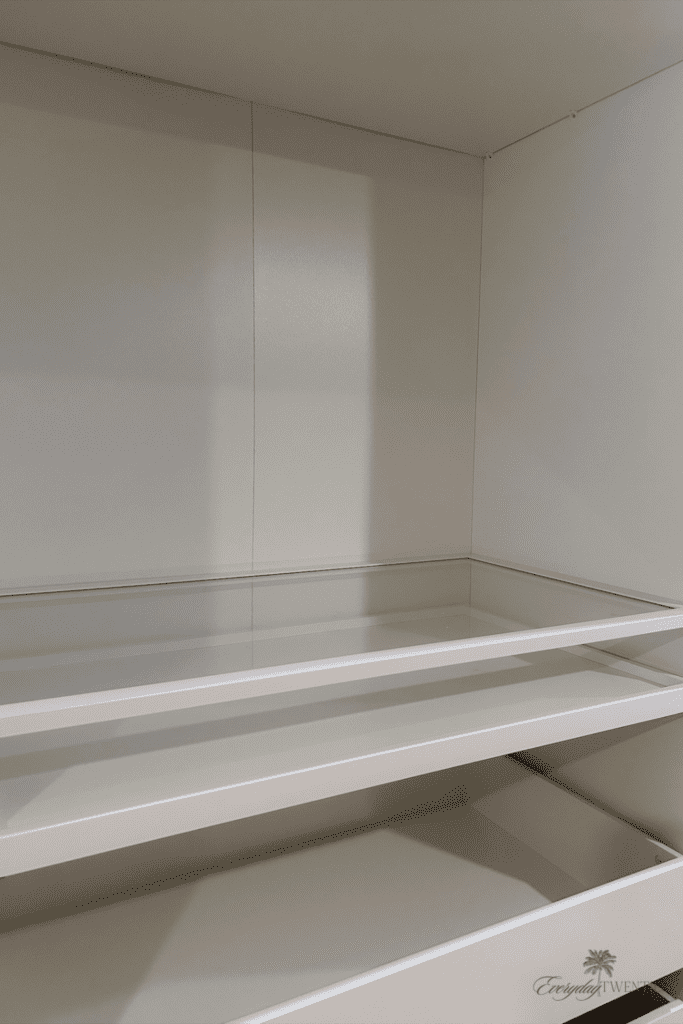
The wardrobe design I selected was, 79+ inches tall. 78+ inches wide and 22+ inches deep.
You can choose various lengths and widths depending on the size of your room.
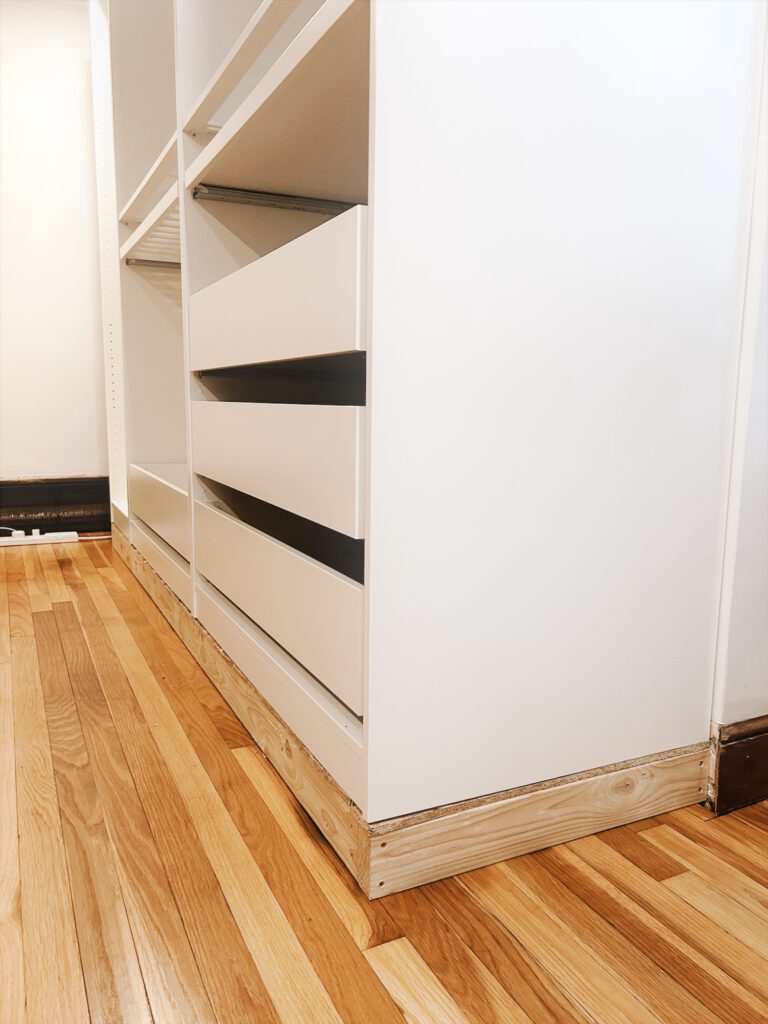
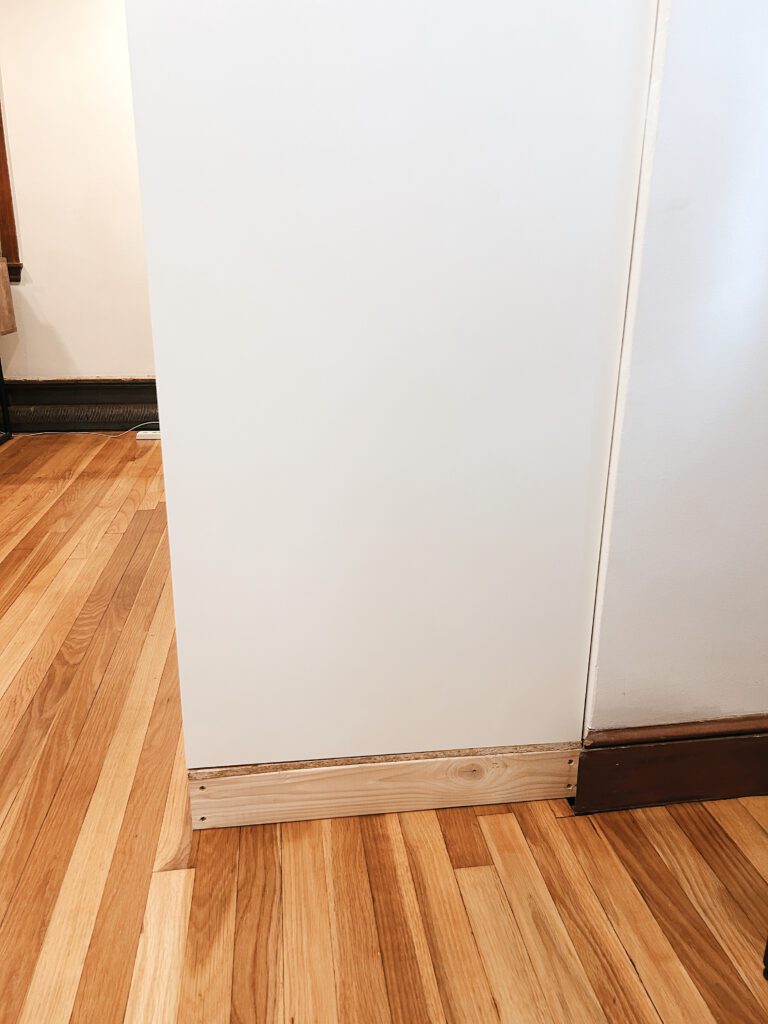
2. Create a base for the frame to sit on.
For a built-in look, you’ll usually want the wardrobes to be raised slightly. The length of the platform should match the total width of the frames and accommodate any adjustments or expansions you might want to make on the sides.

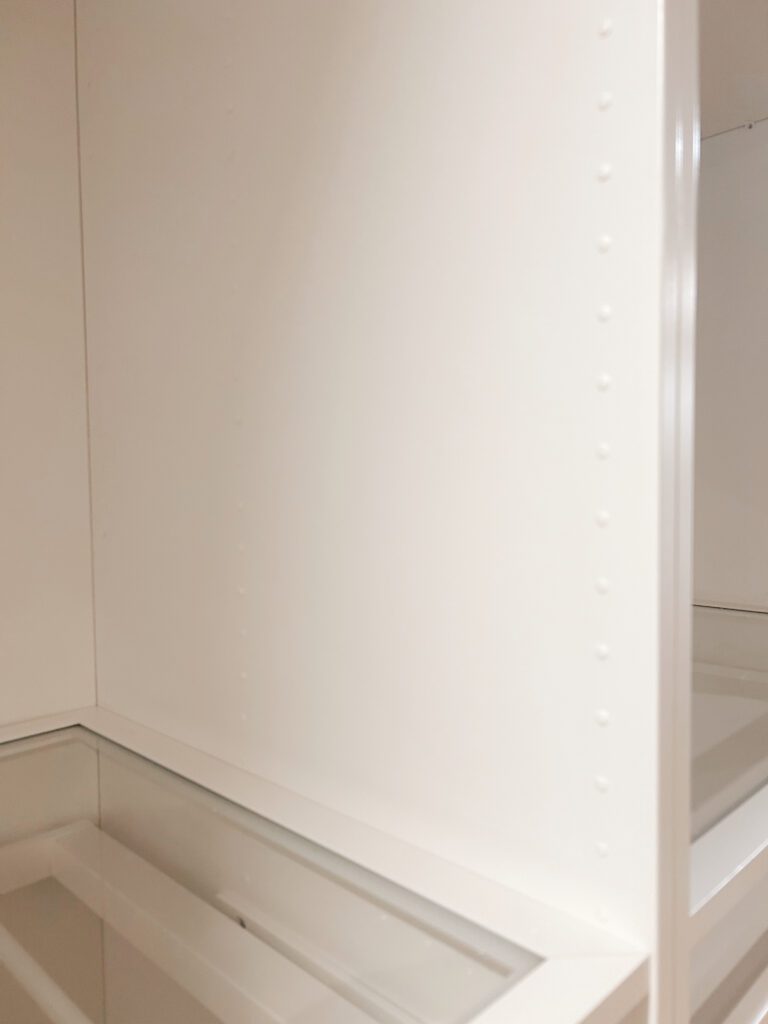
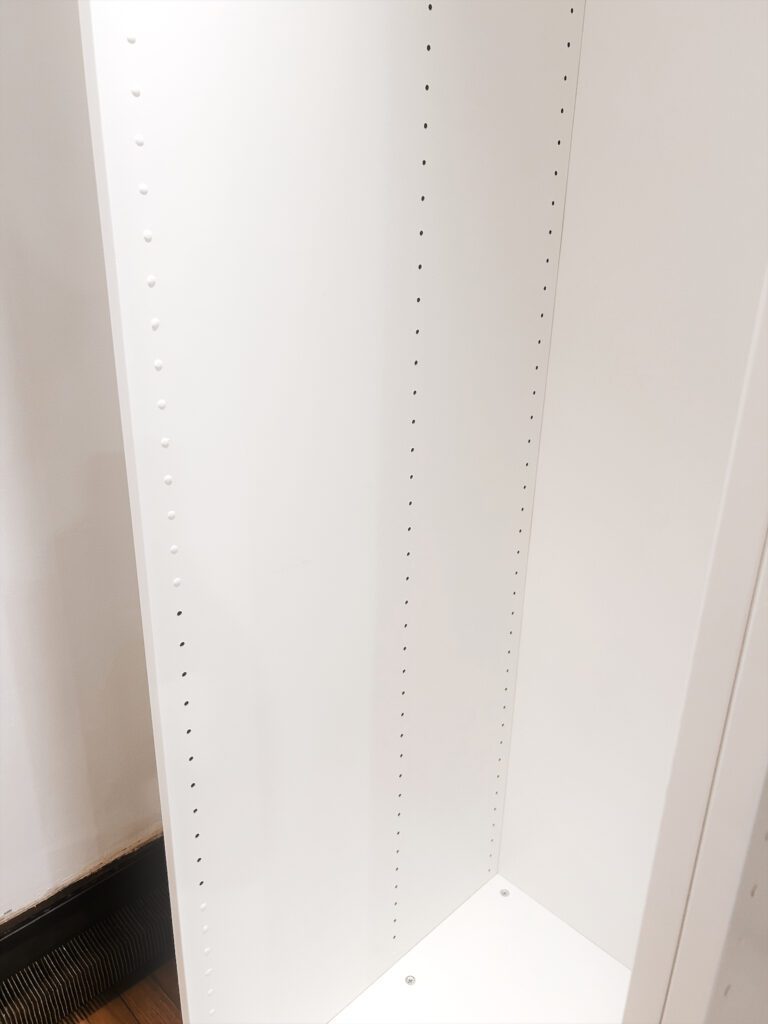
3. Cover the unused Ikea PAX holes
The product to cover the unused Ikea PAX holes is called VARIERA COVER PLATE and is found in the kitchen department near kitchen accessories. It’s only $1.29 per pack of 100 covers!
Helpful Cover Plate Dupes:


It saves so much time to line it up along the hole and use something that has a soft backing to punch in the cover. At first, we broke off the cover and then pushed it into the hole with our thumbs, which I don’t recommend because your thumbs will get sore very quickly!
(Please make sure your shelves and everything are in their final position.)
4. Paint your heart away! *Optional*
If you’re painting your wardrobe, start with a primer and follow up with carpentry paint. Choose between a brush or roller depending on the finish you’re aiming for.
For the best results, lightly sand between each coat. Skipping this step can cause fibers to rise as the color sets, so please don’t miss out on that crucial sanding step.
5. Measure and attach ceiling and floor moldings. *Optional*
After creating your custom carpentry pieces (recommend measuring the height and length of your design), you can add those to the top and bottom of your closet design.
This allows your walk-in wardrobe to finally have that “built-in” final touch, without actually having them in the wall!
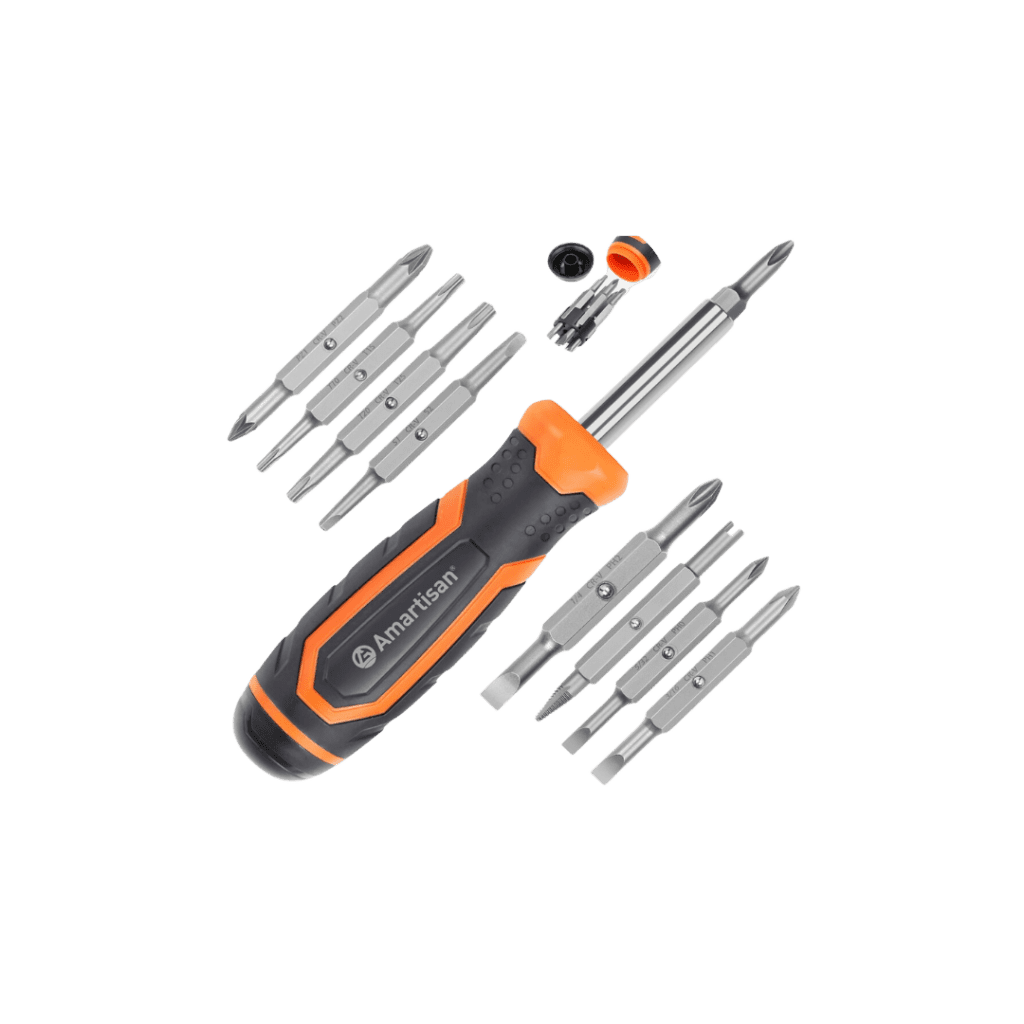
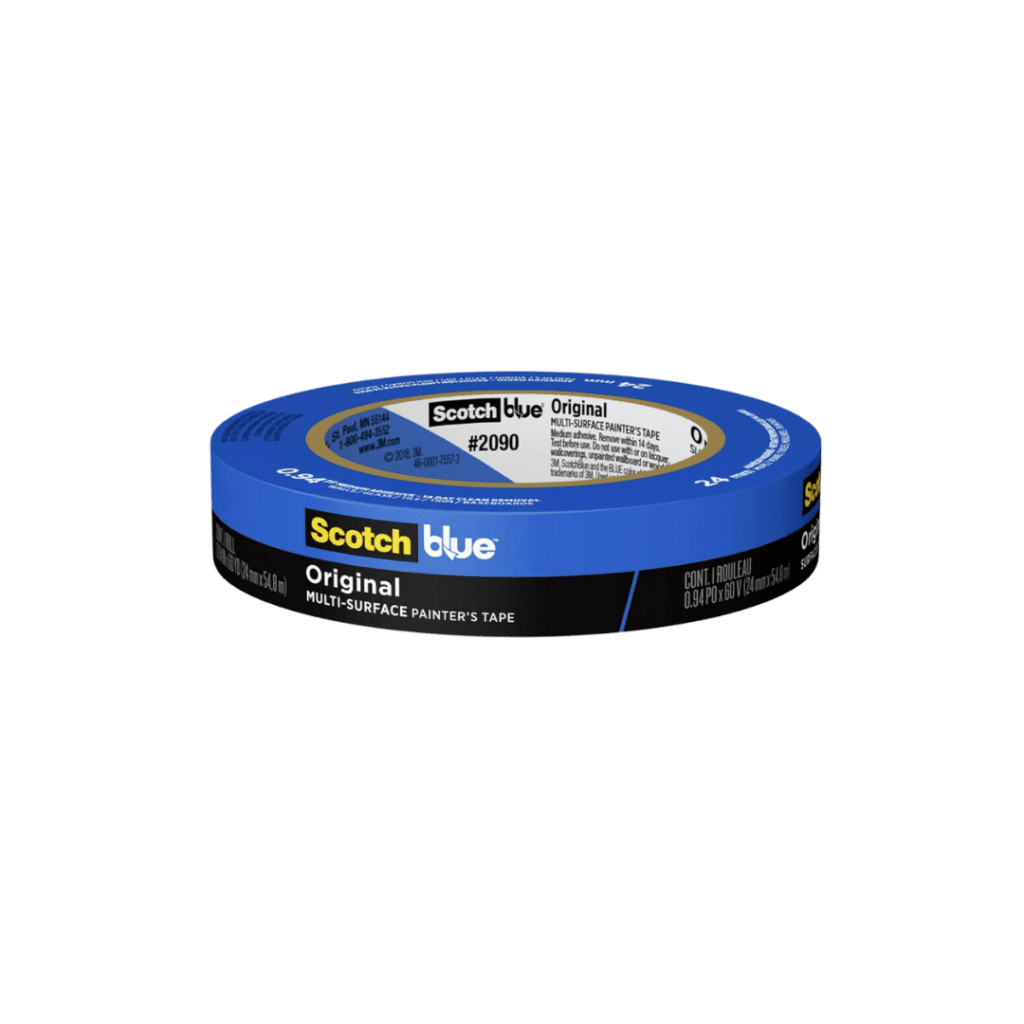
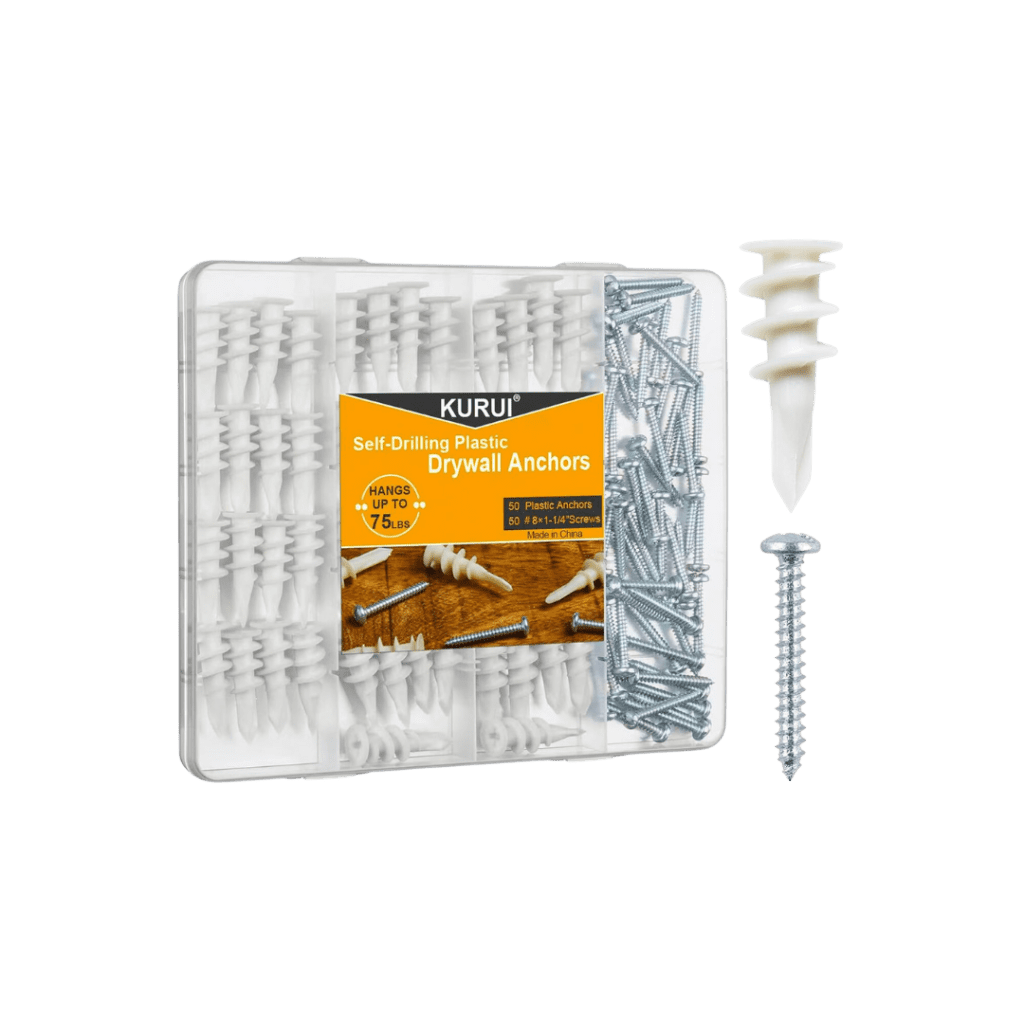
Helpful Tools For Assembly:


Here’s how my Ikea PAX wardrobe turned out:
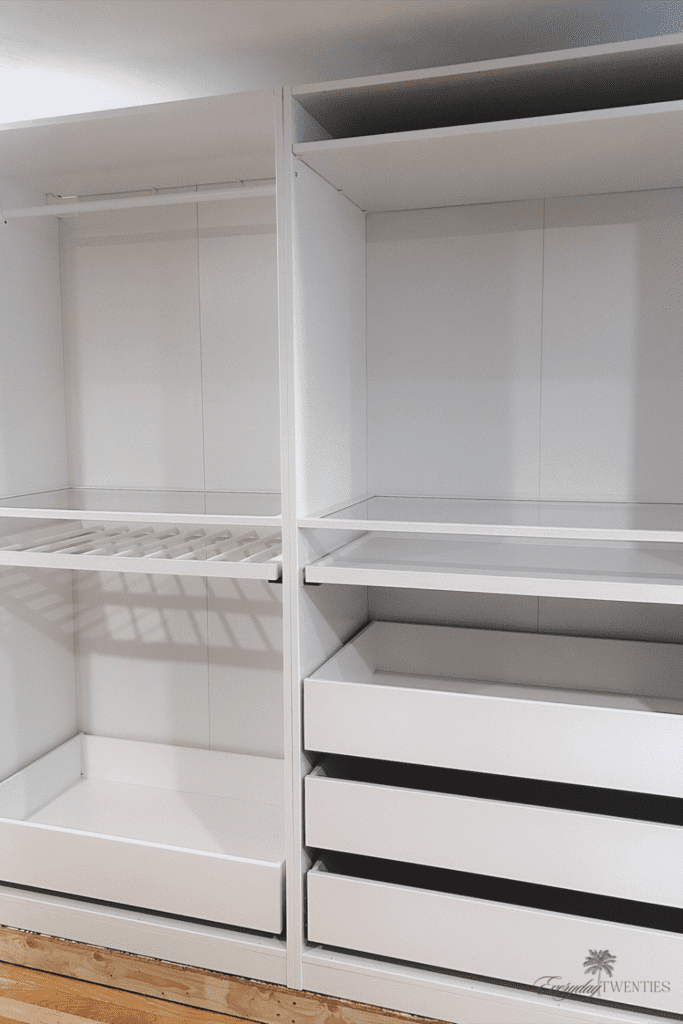
In LOVE! Now my closet is one of my favorite features of my home!
Designed to perfection! ✨
This site contains affiliate links